
What to Expect for Your First Window Tint Install
CGT Blogger • August 22, 2022
If you're getting your car or home windows tinted, you may be wondering: what happens during a window tint install? This guide reveals all.
Experts predict that the global
window film market
will reach an annual revenue of $17.5 billion by 2030. As conserving energy becomes a top priority, both homeowners and drivers are realizing the benefits window tinting can bring. But do you know how the process works?
You may be surprised to know that it can be done quickly and effectively. Read on as we discuss how a window tint install works.
You may be surprised to know that it can be done quickly and effectively. Read on as we discuss how a window tint install works.
How Does Window Tinting Work?
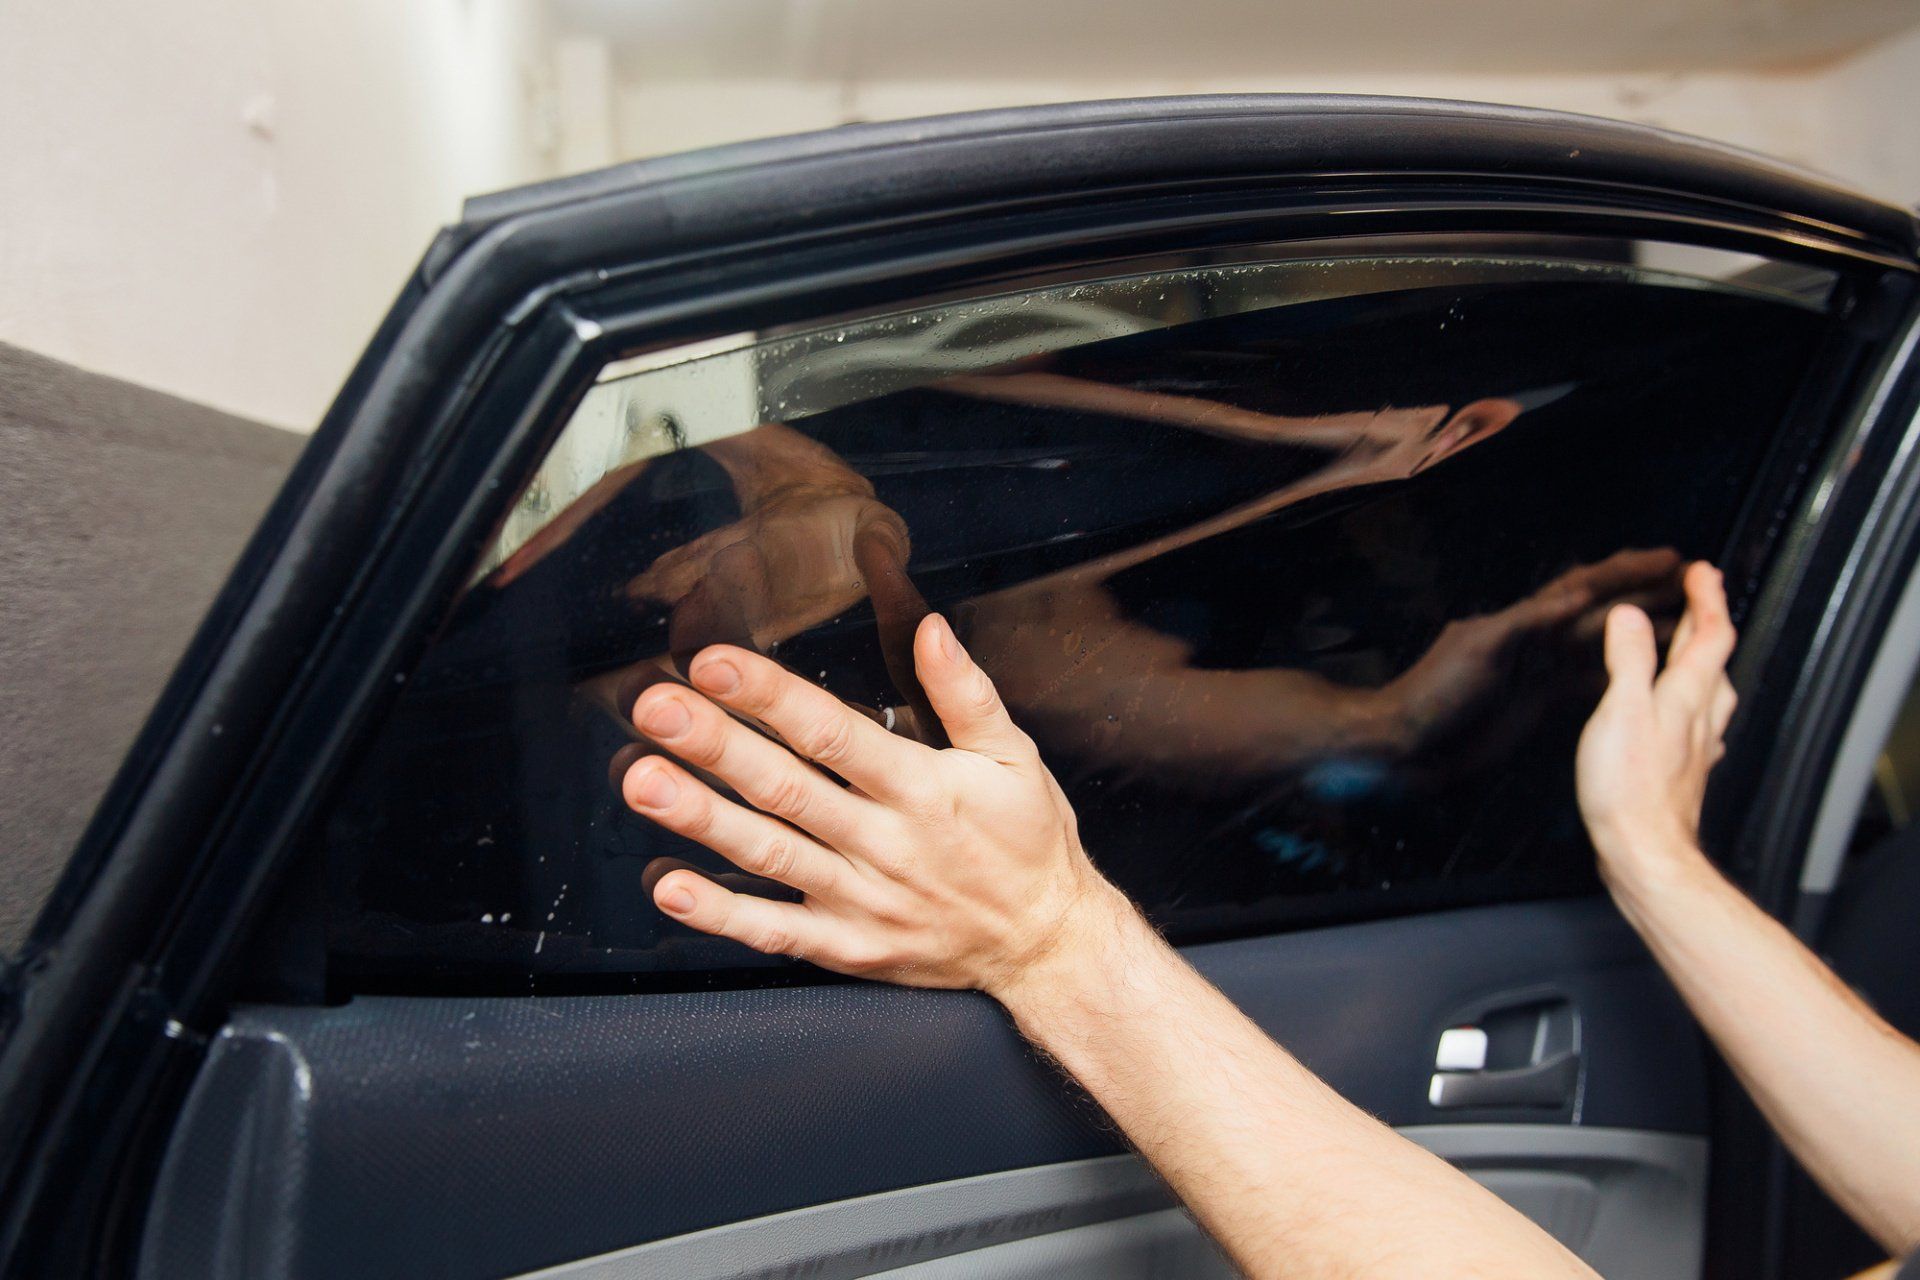
Window tinting is made from a polyester film at its base. There can be many variations on this, with different products added to the layers to provide special qualities. The film will allow certain light through and block other forms of light, giving a different aesthetic and affording protection from the sun.
The type of film and what is included within it dictates how much visible light passes. Light passing through from outside is reduced, but light traveling from inside is not affected. This means visibility remains the same even at night.
Tinting film has an adhesive surface that clings to the window. This makes it look like the window is made from a colored glass when a proper application is achieved.
Window tinting is most commonly used in property and on vehicles. Due to its energy-saving properties, it is also able to cut down on heating and cooling bills in the home.
How to Install Window Tinting
The window tinting process can be broken down into three distinct sections. These will apply whether you hire a professional to do the job for you or you do it yourself.
Preparation
The glass preparation must be conducted properly to ensure a smooth, professional-looking application. When possible, you should remove any items that are touching the glass around its edges. For example, on a
car window
, take out felt or panels that are removable.
Start by washing the glass in warm, soapy water removing any dirt and dust that are on the surface. If you apply the film while these are on, then you will get bubbles and a rough surface to your tint.
If you can do this in a sealed environment such as a garage, then do so. Trying this outdoors will cause more dirt and detritus adheres to the window while it is wet.
This may not be possible with a home installation, so pick a calm day with less wind to apply the film.
Follow this by scraping out any stuck-on dirt like bird toppings or glue from window stickers. Wash these areas, squeegee the surface, and dry it with a microfibre towel.
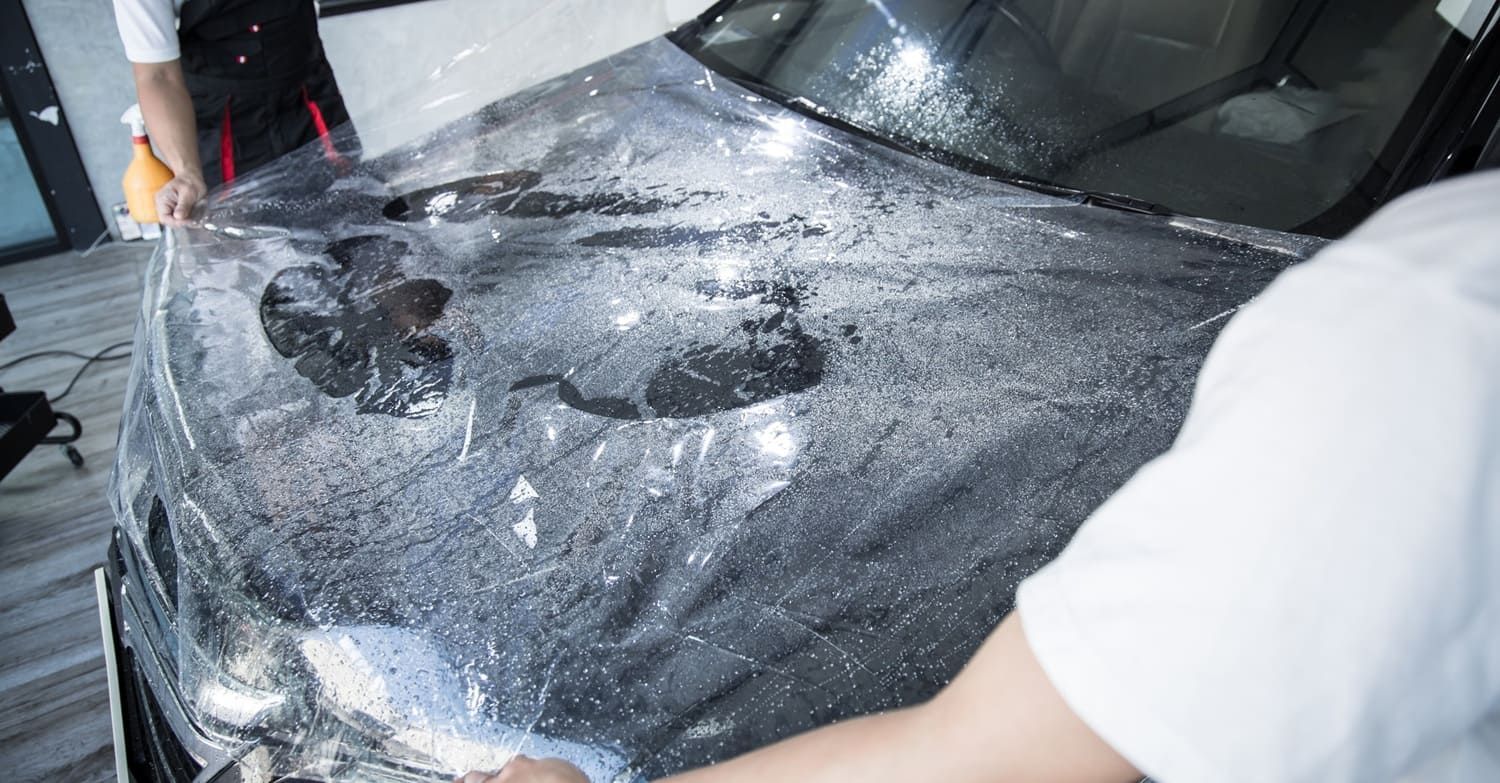
Cutting the Film
The next step is to cut out the film. Don't use the window as a guide, as the film's natural flexibility will make it extremely hard to be accurate. Instead, make a template from cardboard to cut the shape of the window. If you are adding to home windows that are squared in shape, you may just wish to use a tape measure.
When you cut the template, add just under an inch to each side. This allows room for mistakes and still manages to minimize waste.
Now you have a template, lay the film out on a flat surface. Place the template on top then use a craft knife to follow the shape. You should then have a cut-out piece of film that resembles the glass you want to place it on.
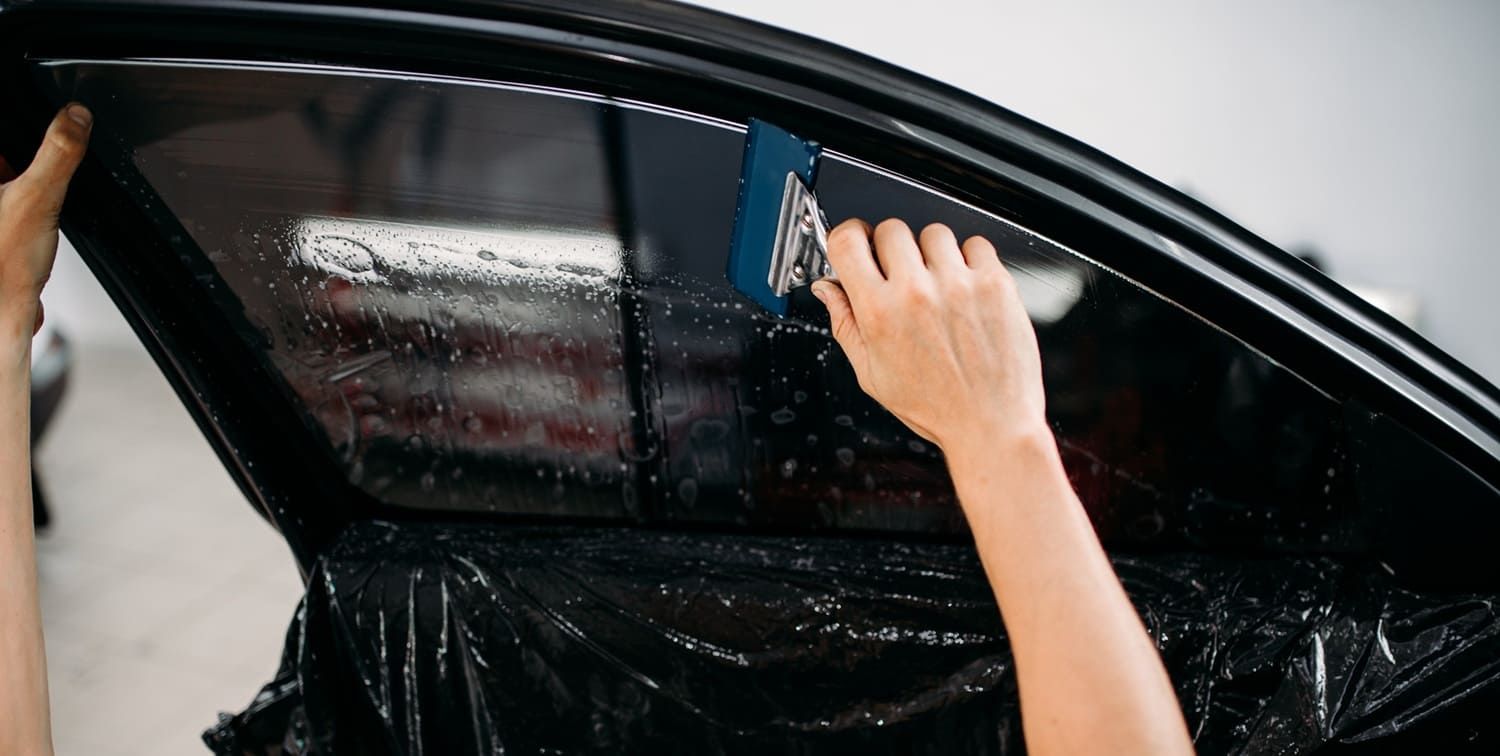
Fixing the Film
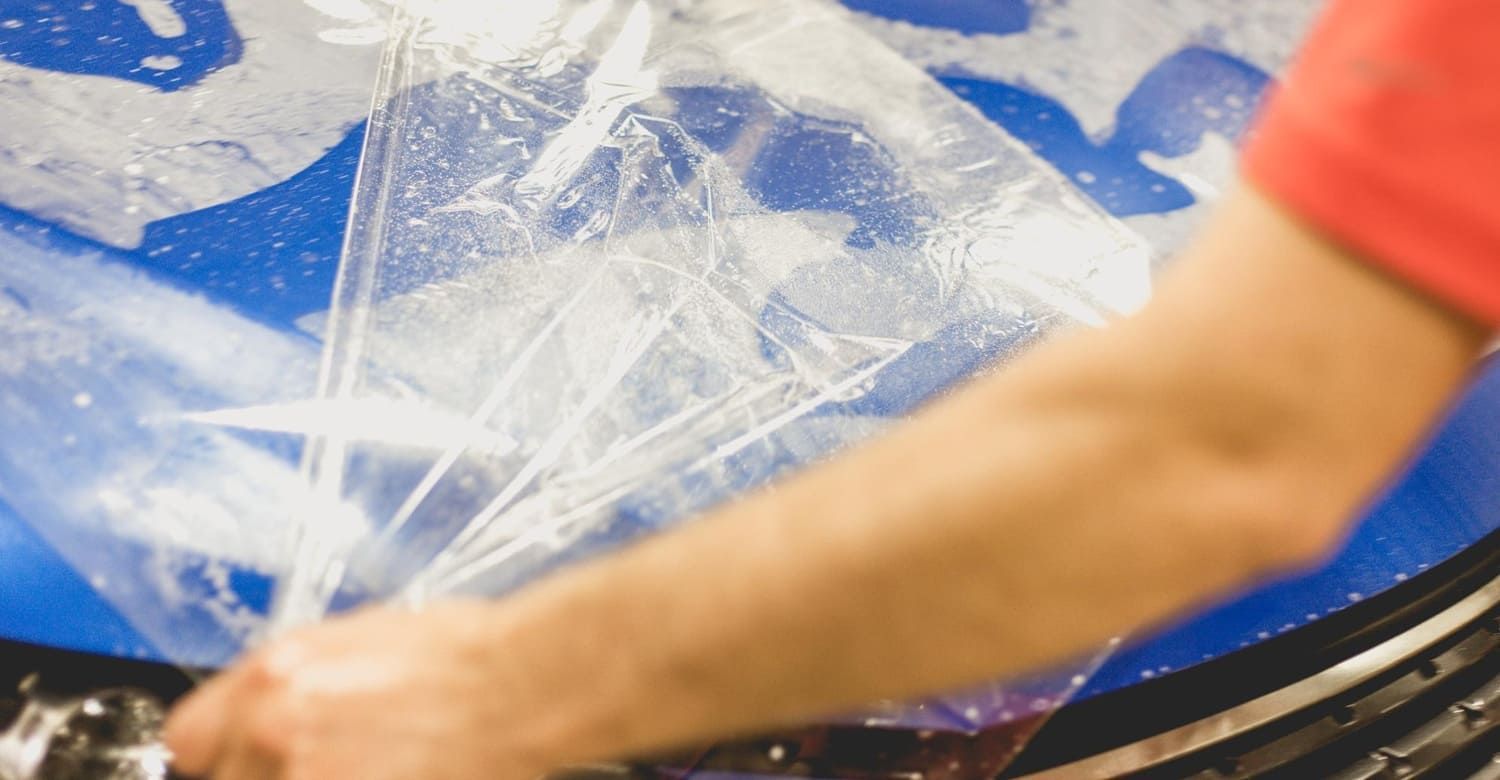
For this section, you will need someone to assist you. Start by removing the layer of film on the tint. Apply some application fluid, and it will now have an adhesive surface.
This surface reacts to pressure, though you don't want it stuck fully yet. Instead, add it a small section at a time, making sure you have no bubbles or creases. If the film sticks fast, start from the beginning once more.
Once in position, apply pressure with the squeegee. Move from the center outwards, pushing any air and bubbles out. If the squeegee begins to stick, then apply a little soapy water to it.
When you have finished you should leave the window and tint to bond. This will take around 48 hours to stick fully.
How Long Does Window Tinting Last?
The lifespan of the window tint depends on the type and quality of the tint itself. A standard dyed film tint can last around 5 years if it is well kept and maintained. Some higher-grade ceramic and metalized films can last as long as 10 years.
How to Remove Window Tint
There are two main methods in which you can remove a window tint. This first is a method using heat and the second involves
using ammonia to break down
the adhesive in the film.
If you go for the heat option, you can use a steamer, hairdryer, or heat gun. A hairdryer will take a little more patience than a heat gun or steamer.
Start in the corner. Apply for a minute, and then peel away the film from the top corner using a palette knife.
If the film does not come away, carry on using heat. Continue to add heat to the spot you are peeling away, loosening it and pulling it back.
The second method involves using an ammonia solution. Spray it onto the film then hold it in place by taping garbage bags over the top. After an hour or two, the film should be loose enough for you to peel it away.
If you choose this method, be very careful. The ammonia can damage the car itself and can be harmful to you if used in high enough amounts
Getting a Professional Window Tint Install
While it is possible to do a window tint install yourself, it is a tricky process. A professional will ensure you don't make mistakes or waste costly films. Before you know it, you will be reaping the benefits of your new window cover.
If you need window film for your business, then Custom Glass Tinting should be your first stop. We provide a range of residential, professional, and commercial applications. Contact us here to discuss your needs and find out about our excellent catalog of products.
If you need window film for your business, then Custom Glass Tinting should be your first stop. We provide a range of residential, professional, and commercial applications. Contact us here to discuss your needs and find out about our excellent catalog of products.
Ceramic vs carbon window tint in Florida: compare heat rejection, IR performance, clarity, cost, and legality for Gainesville, Ocala, and Lake City drivers.

Gainesville, FL drivers: compare matte vs gloss PPF, durability in Florida heat, maintenance, and style. Learn how LLumar ppf protects paint long term.
Choosing a window tint shade is a balance of privacy and visibility at night. Learn how VLT works, Florida laws, and why LLumar FormulaOne films deliver clarity in Gainesville, FL.
Discover the best window tint for Florida heat in 2026. Expert comparison of ceramic vs nano ceramic films for cooler, safer driving in Gainesville, FL.
Discover 2025 car window tinting costs in Gainesville, FL. Compare film types, prices & Florida tint laws. Get expert installation & a free quote today!
Discover how the longevity of paint protection film, like Llumar PPF, ensures your vehicle's finish remains pristine for 5 to 10 years. Explore the factors that impact the lifespan of PPF.
Discover the latest auto tinting trends shaping the road in 2025 with smart technology and eco-friendly solutions. Stay ahead with insights on auto tinting trends 2025.
Protect your exotic car's sleek design and paintwork with full-body paint protection film. Discover why LLumar PPF is essential for maintaining pristine condition.
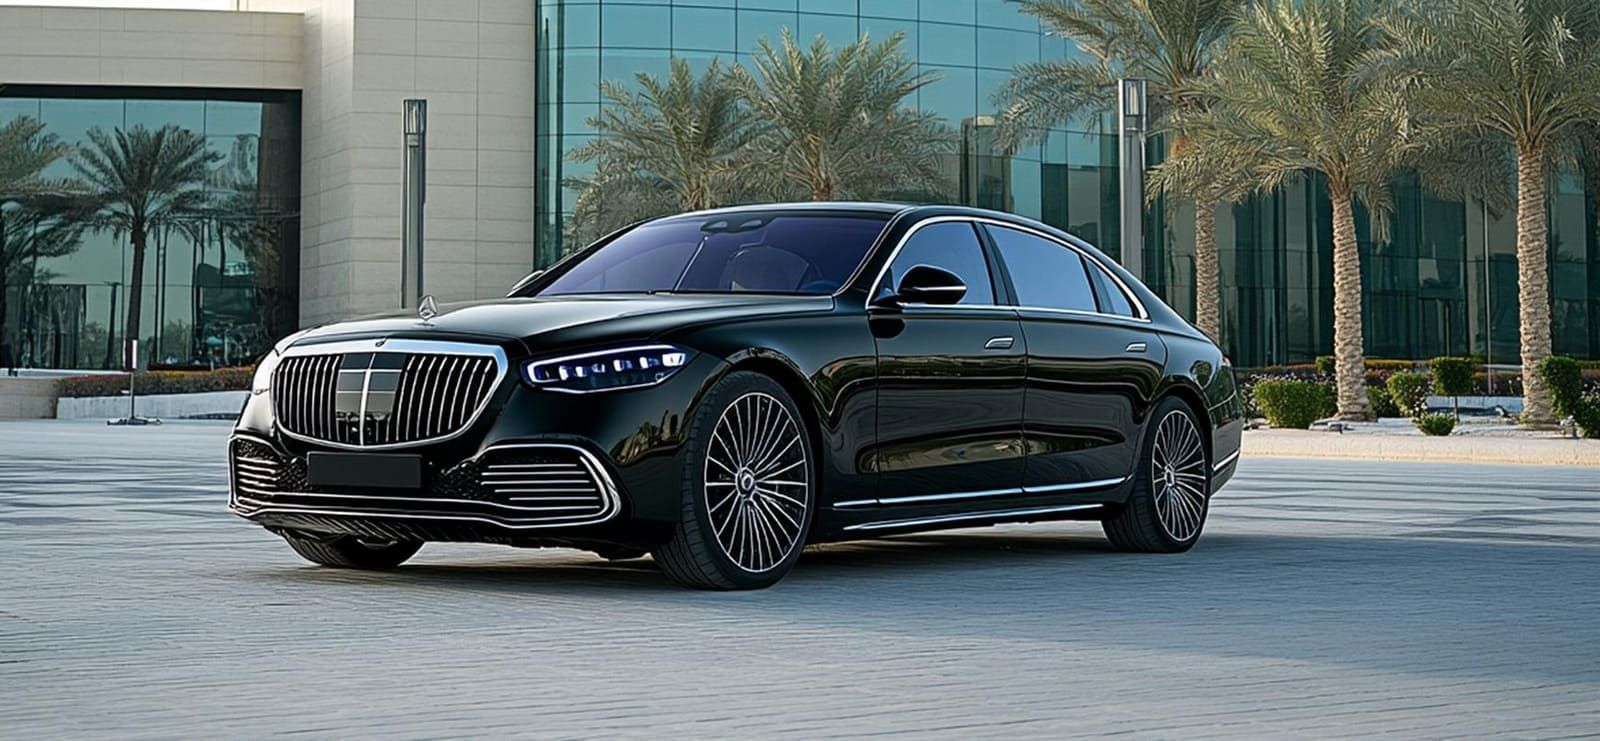
Discover the best window tint for luxury vehicles with our guide, exploring top options like LLumar FormulaOne and 3M Crystalline for enhanced style, comfort, and protection.
Discover the top PPF coverage options for daily drivers to keep your vehicle in pristine condition. Learn about Llumar PPF options and find PPF services near you.