
How to Troubleshoot Air Bubbles in Your Window Tint
CGT Blogger • January 9, 2025
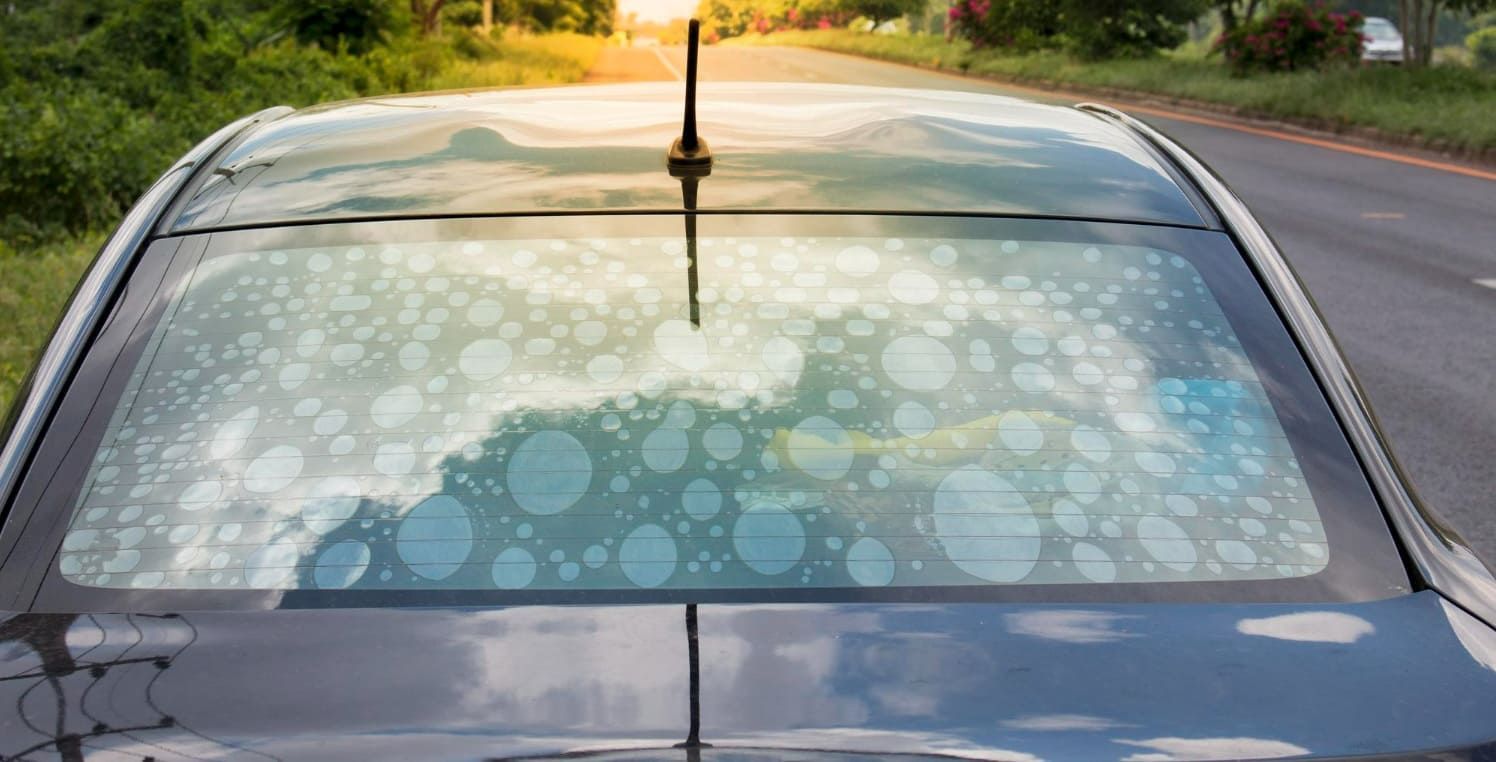
Air bubbles in window tint can appear shortly after installation or over time. They are often the result of improper installation techniques or environmental factors. These bubbles can vary in size and number, sometimes making the tint appear wrinkled or distorted. Let's explore the common causes of tint bubbles and how to identify them, helping you recognize the problem early and take corrective action before it worsens.
Common Causes of Window Tint Bubbles
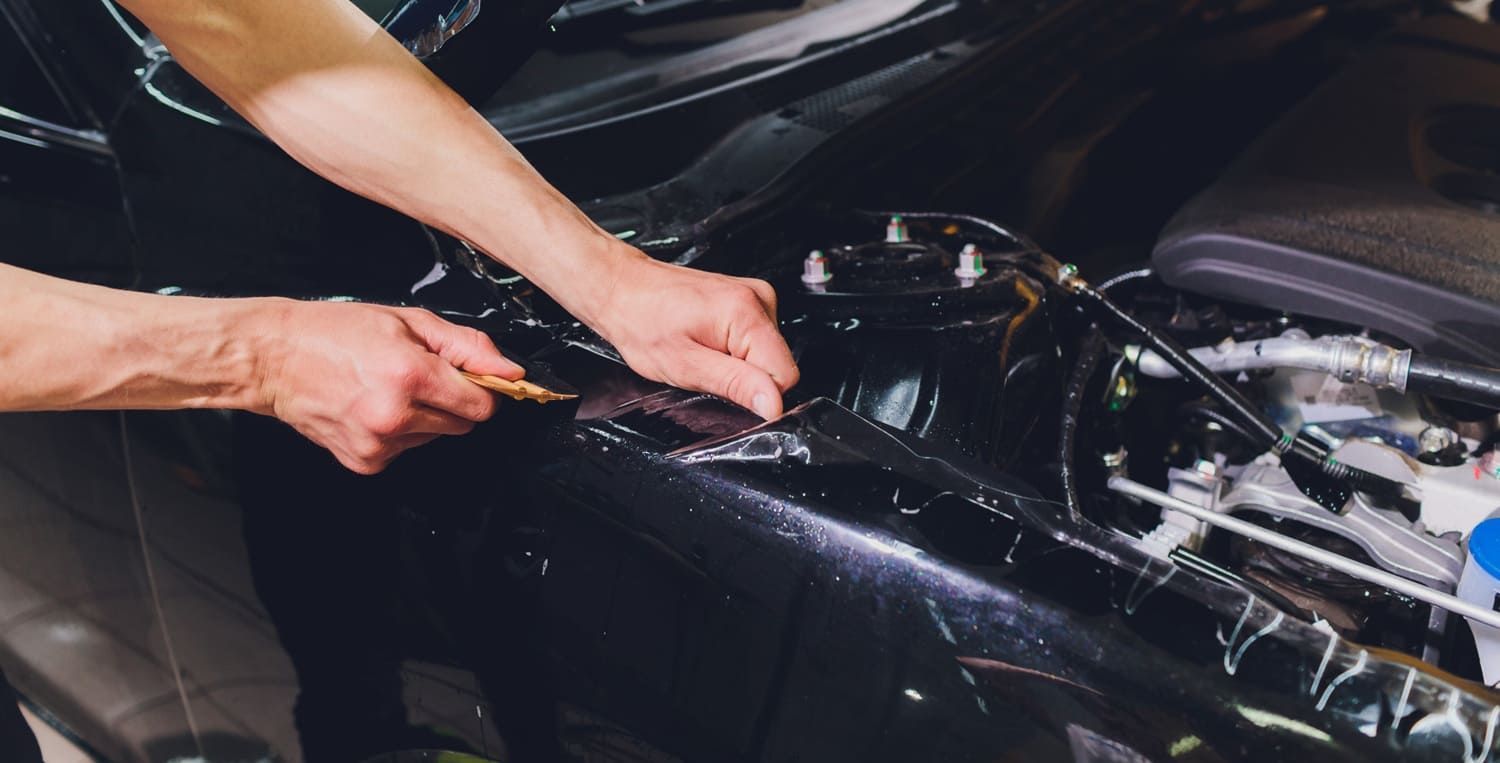
Poor Adhesion: If the window tint does not adhere properly to the glass, air bubbles can form. This could be due to dirt or moisture trapped between the glass and the tint, which prevents the adhesive from bonding effectively. Additionally, failing to remove all contaminants can create pockets where air gets trapped, leading to unsightly bubbles.Temperature Variations: Extreme temperature changes can cause the tint film to expand or contract, leading to air bubbles. These fluctuations can occur with seasonal changes or when parked in direct sunlight, causing the adhesive to weaken or the film to shift slightly. Over time, repeated expansion and contraction can exacerbate the bubbling issue.
Improper Application: Failing to smooth out the tint film during application can trap air underneath, resulting in bubbles. Inadequate use of tools like squeegees or improper techniques can leave pockets of air, which are difficult to remove once the adhesive sets. Even small errors during installation can lead to significant bubbling issues later.
Low- Quality Film : Cheap window tint films often have inferior adhesive properties, making them more susceptible to bubbling. These films may degrade quickly under UV exposure or when subjected to regular cleaning, leading to adhesive failure and bubble formation. Investing in quality materials from the start can mitigate these risks and prolong the life of your tint.
Preventing Air Bubbles
Prevention is always better than cure. Here are some tips to help you avoid air bubbles in your window tint from the start. By taking preventative measures, you can save yourself the hassle of having to correct issues later and ensure a long-lasting, professional-looking tint.Choose Quality Tint Film
Investing in a high-quality tint film can significantly reduce the risk of air bubbles. Quality films have better adhesive properties and are less prone to bubbling over time. These films are often designed to withstand environmental stresses and provide better clarity and durability. While the initial investment may be higher, the long-term benefits of reduced maintenance and extended lifespan make it worthwhile.Clean the Windows Thoroughly
Before applying the tint, ensure that the windows are completely clean and free of dust, dirt, and moisture. Use a glass cleaner and a microfiber cloth to wipe down the surface, paying special attention to the edges and corners. Any residue left on the glass can compromise the adhesive bond, so thorough cleaning is crucial. A final wipe with a lint-free cloth can help ensure no particles remain.Professional Installation
Consider hiring professional car window tinting installers near you. Experts have the right tools and experience to apply the tint without trapping air bubbles. They can also provide warranties and service guarantees, giving you peace of mind that the job is done correctly. Professional installers understand the nuances of different films and vehicle types , ensuring a seamless finish.Apply Tint in a Controlled Environment
Install the window tint in a dust-free environment with stable temperatures. Avoid applying tint in extreme heat or cold, as this can affect the adhesive. A controlled environment minimizes the risk of dirt contamination and allows the adhesive to cure properly, reducing the likelihood of bubbles forming. Using a garage or enclosed space can help maintain consistent conditions during installation.Troubleshooting Existing Air Bubbles
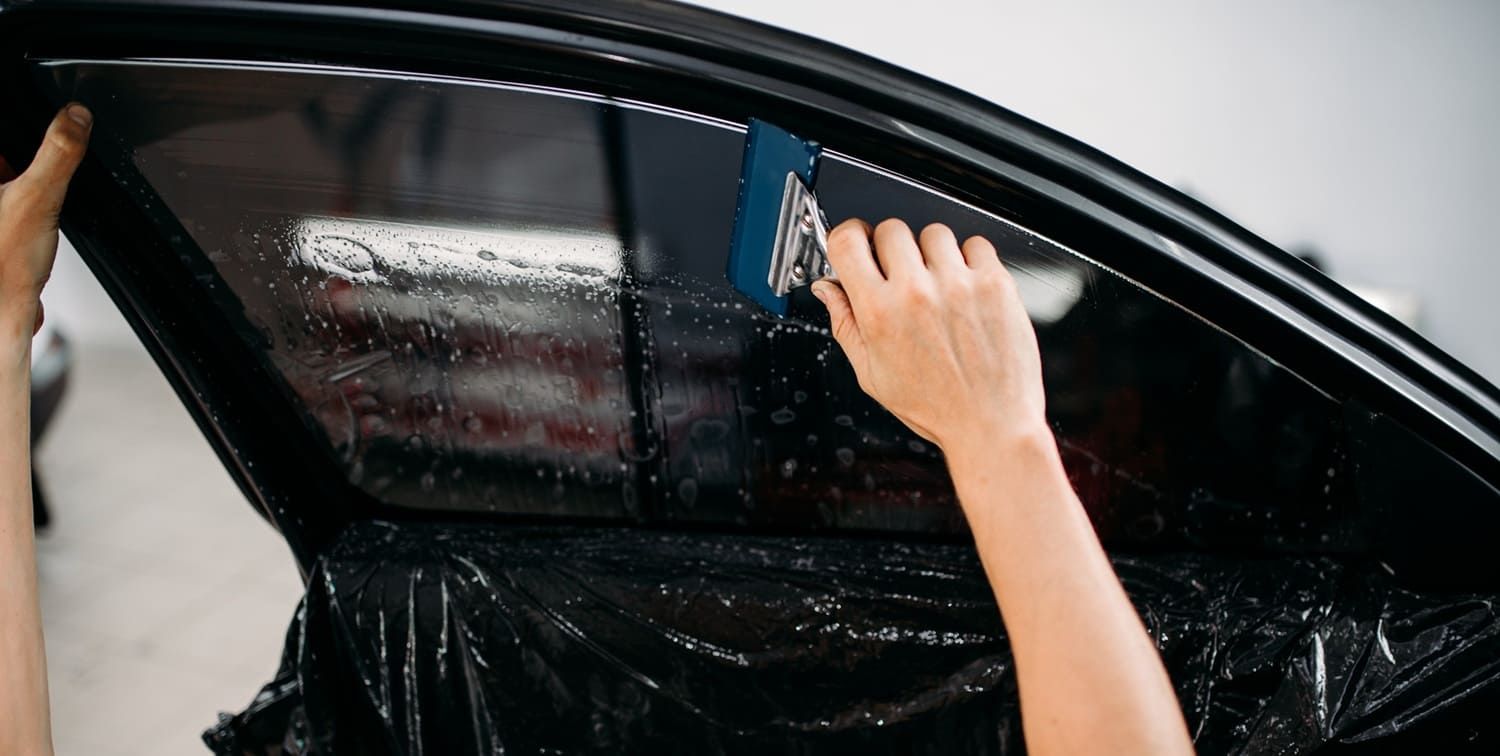
If you already have air bubbles in your window tint, don't worry. There are several methods to remove them, depending on the size and severity of the bubbles. Addressing the issue promptly can prevent further damage and restore the appearance of your windows, enhancing both aesthetics and functionality.Method 1: Heat and Pressure
Heat the Tint: Use a hairdryer or heat gun to gently warm the area with bubbles. Be careful not to overheat, as excessive heat can damage the tint. The warmth makes the adhesive more pliable, allowing you to manipulate the film more easily.Apply Pressure: Using a squeegee or a credit card wrapped in a soft cloth, apply firm pressure to the bubbles, pushing them towards the edge of the tint. This technique helps expel trapped air without scratching the film. Consistent, even pressure is key to achieving a smooth finish.
Repeat: You may need to repeat the heating and pressing process several times to completely remove the bubbles. Be patient and methodical, as rushing can lead to incomplete removal or further damage to the tint.
Method 2: Needle Puncture
Sterilize a Needle: Use a fine needle to puncture the center of the bubble. Make sure the needle is sterilized to avoid introducing contaminants. A small, precise puncture allows air to escape without significantly compromising the film.Release the Air: Gently press the bubble to release the trapped air through the puncture. This method is effective for larger bubbles that cannot be smoothed out by pressure alone. Careful handling ensures the puncture remains inconspicuous.
Smooth the Area: Use a squeegee or a card to flatten the area around the puncture. This step helps blend the punctured area back into the rest of the film, maintaining a uniform appearance.
Method 3: Re-tinting
In cases where the bubbles are extensive or the tint is damaged, re-tinting may be the best solution. Remove the old tint, clean the windows thoroughly, and apply new tint film. This process ensures a fresh start and addresses any underlying issues that might have contributed to the initial bubbling.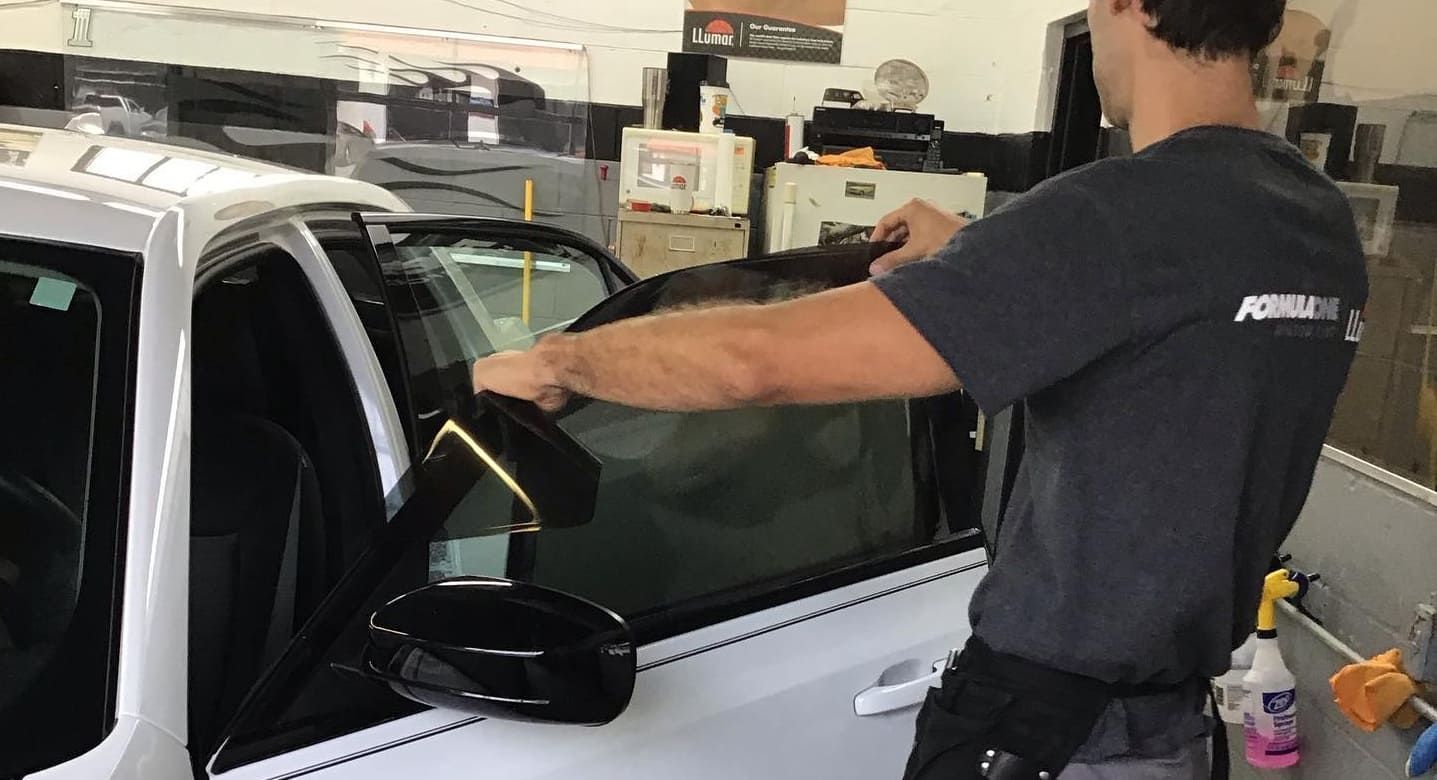
When to Seek Professional Help
While DIY methods can be effective, there are times when professional assistance is necessary. Consider contacting car window tinting installers near you if:- The bubbles are persistent and extensive. Large areas of bubbling may indicate a fundamental problem with the film or installation that requires expert intervention.
- You're unsure about handling the tools and materials required. Professionals have the expertise and equipment to resolve complex issues efficiently.
- The window tint is peeling or severely damaged. In such cases, attempting a fix yourself might exacerbate the damage, leading to more costly repairs.
Conclusion
Air bubbles in window tint are a common issue that can be addressed with the right approach. At Custom Glass Tinting in Gainesville, FL , we help you understand the causes and prevention strategies to enjoy a smooth, bubble-free window tint. Proper maintenance and attention to detail during installation by our expert team can prevent most bubbling issues from occurring in the first place. Remember, while DIY solutions can be effective , seeking professional help from Custom Glass Tinting ensures a flawless finish that enhances your vehicle's appearance and comfort.In summary, whether you're dealing with existing bubbles or looking to prevent them, this guide provides practical solutions to troubleshoot window tint air bubbles effectively. By following these steps and working with Custom Glass Tinting, you can maintain your car's aesthetic appeal and ensure your driving experience is not compromised by obstructed views. Contact us today for a free estimate and let our professionals help you achieve a perfect window tint. Happy tinting!
Ceramic vs carbon window tint in Florida: compare heat rejection, IR performance, clarity, cost, and legality for Gainesville, Ocala, and Lake City drivers.

Gainesville, FL drivers: compare matte vs gloss PPF, durability in Florida heat, maintenance, and style. Learn how LLumar ppf protects paint long term.
Choosing a window tint shade is a balance of privacy and visibility at night. Learn how VLT works, Florida laws, and why LLumar FormulaOne films deliver clarity in Gainesville, FL.
Discover the best window tint for Florida heat in 2026. Expert comparison of ceramic vs nano ceramic films for cooler, safer driving in Gainesville, FL.
Discover 2025 car window tinting costs in Gainesville, FL. Compare film types, prices & Florida tint laws. Get expert installation & a free quote today!
Discover how the longevity of paint protection film, like Llumar PPF, ensures your vehicle's finish remains pristine for 5 to 10 years. Explore the factors that impact the lifespan of PPF.
Discover the latest auto tinting trends shaping the road in 2025 with smart technology and eco-friendly solutions. Stay ahead with insights on auto tinting trends 2025.
Protect your exotic car's sleek design and paintwork with full-body paint protection film. Discover why LLumar PPF is essential for maintaining pristine condition.
Discover the best window tint for luxury vehicles with our guide, exploring top options like LLumar FormulaOne and 3M Crystalline for enhanced style, comfort, and protection.
Discover the top PPF coverage options for daily drivers to keep your vehicle in pristine condition. Learn about Llumar PPF options and find PPF services near you.